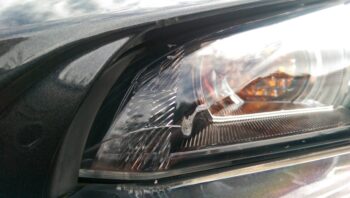
Modern cars have headlight bulbs that are covered by a polycarbonate lens which may become cracked or pitted with time as a result of which your headlight could become dimmed.
If you are worried about whether you should drive with your cracked headlight lens, the simple answer is no, you shouldn’t drive with a cracked headlight lens especially between sunset to sunrise. This is because a cracked headlight lens makes your headlight dim and this may manifest as blurred vision. When your headlight vision is blurred, you are likely to suffer from poor visibility and thus become a risk on the road to yourself and others as well.
In the rest of the post, I will be telling you more about driving with a cracked vehicle headlight lens and provide answers to some questions you may have about that.
Can you drive with a cracked headlight lens?
While you can actually drive your vehicle with a cracked headlight lens, it is NOT an ideal thing to do. In addition, driving a car with a broken headlight lens may attract a fine or get you to serve with a defect notice when you get pulled over by the police. Regardless of any punishment according to the law, you must treat headlight issues very seriously for the role they play in your safety more than for any other reason. It is illegal to drive a car with a cracked headlight lens because any cracked lens is likely to cause your headlights to become dim and unable to allow you to see upto the recommended 500 meters ahead of you.
What can cause your headlight to crack?
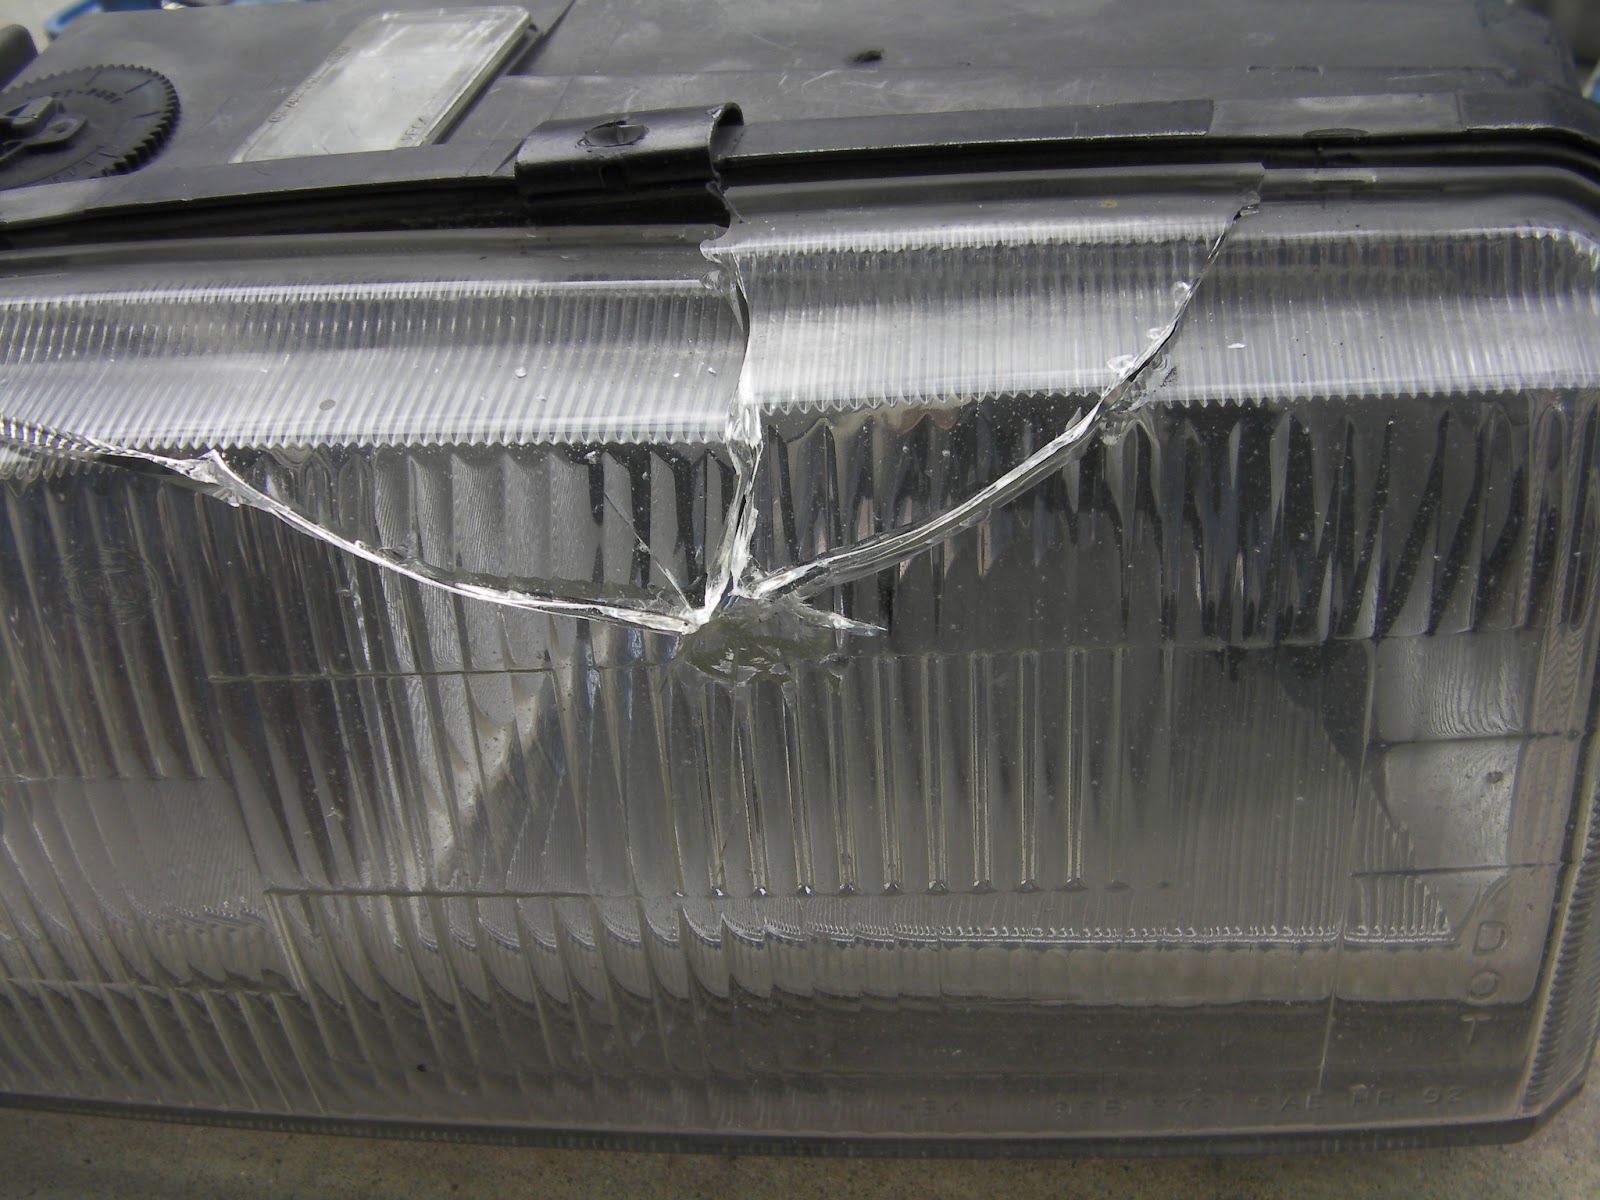
Many reasons can be indicted in getting your headlight lens to crack and the most notable one among them is sudden and forceful impact with other vehicles or obstacles as may be occasioned by accidents. Also, your headlight lens can easily crack due to the persistent and degrading effect of UV rays in cases where the vehicle is parked for long periods in the sun. Furthermore, the application of unrecommended cleaning agents on the headlights and other injurious chemicals can cause the lens to crack just like handling them with your bare hands.
What to do to a cracked headlight lens
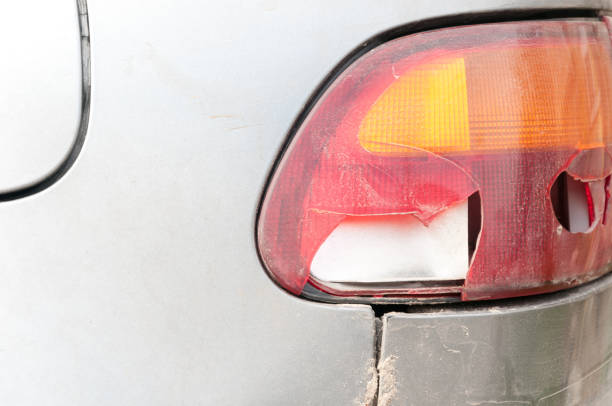
What you do depends on the size of the crack. If it is small, you may simply have to repair it so as to prevent moisture or dirt from getting into you headlights. Where the crack is large or the lens is broken, the only alternative is to replace the entire headlight unit.
Can you use super glue on a cracked headlights lens?
Yes, you can use super glue on cracked headlight lens. It is this possibility that makes super glue one of the materials required whenever you need to repair your cracked headlight lens.
Can a cracked headlight be repaired?
In most cases, the only option to a cracked headlight is to simply replace the entire headlight unit particularly when dealing with glass headlights. However, with plastic headlights, you may be able to repair them through simple steps especially where the bulbs are not affected.
Can you seal/ repair a cracked headlights lens?
The poly carbonate lens that cover most modern car headlights are more reliable when pitted against adverse road conditions than those made of glass. However, with continued use, they are liable to become pitted or cracked too thereby leading to dim headlights. Though replacing the lens can be costly, but it can still be done through self explanatory steps and within a short time.
Step 1
Start by washing the headlights lens and the areas around it with a recommended auto detergent. Since any dirt or dust on the surface of the lens can cause scratches as you do the repairs by yourself, it becomes imperative to ensure thorough cleanliness of all the repair surfaces. After this, proceed to wax the lens to protect it from any compound that may drip on it during painting.
Step 2
You should also protect all the areas around the headlights and remove any chrome around it, lest it gets affected by polishing compounds. Use blue painter’s tape around the headlights for this protection since it can easily pull off without any damage to the paint of your car.
Step 3
This is where you should start the wet sanding procedure with a series of wet landscaping by working your way from the most coarse to the finest. Note however, that the higher the grit of the sandpaper, the finer the paper is. For this reason, begin with preferably a 1000 grit sandpaper and keep a container of water close by for dipping the paper as you work. This water will make the paper to glide over the surface of the lens with ease. Work in a side to side fashion until when you are certain the entire lens is covered.
Step 4
Use increasingly finer landscaping by going from 1500 to 2000 to 2500 and finally to 3000 grit papers. Whenever you change the sandpaper, work at right angles to your last sanding. Similarly, whenever you change from 1000 grit sandpaper to 1500, use up and down motions and not side to side. Finally, change direction again when you switch to 2000 grits sandpaper. All the while, be sure to use an ample supply of water while you continue sanding.
Step 5
You should polish the headlight lens using a microfiber cloth to rub a polishing substance onto the headlight. This will smoothen out all the scratches on the surface of the lens thereby restoring it to an original shine. After you have rubbed enough, use a clean towel to remove all compounds on its surface. Using an auto wax on the lens with a microfiber will help to protect it from the elements.
How to quickly fix a cracked headlight lens yourself
To quickly fix cracks in your headlight lens use progressively more smooth sandpapers from 320 down to about 2000 grit papers. After the sanding, polish the headlight lens with a good wax polish which is also known to tremendously slow down the effect of UV light as well. You can then use alcohol to wipe off the lens once again. Spar urethane can then be used to give a very clear gloss. Throughout all these procedures, sand evenly and go over the cracks repeatedly until they begin to disappear.
How much will it cost to fix a cracked headlight lens?
The overall cost of fixing a cracked headlight lens depends on the severity of the damage and what other parts are affected too. For example, where the bulb is affected, you may have to change it and the average cost of a halogen bulb is about 5 to 20 dollars, while an HID bulb costs 100 dollars or more. To replace an entire headlight assembly, you may have to spend anything between 250 to 700 dollars or a little more which also depends on the make and model of your car. There is also the cost of labour if the installation will be done by a professional and not yourself. Conclusively, you are advised to start with a specialist retailer such as Euro Car Parts who are bound to give you the actual prices for whatever you may need.
Will a cracked headlight lens pass inspection?
Before any vehicle passes inspection, certain components of a car must be in perfect working condition such as the windscreen, headlights, tyre threads and so on. Therefore, judging from this perspective, a cracked headlight lens will not pass inspection, though you may not necessarily get pulled over for it by the police and neither will it impede your driving too.
How do fix spider cracks in headlights?
The first thing to do is to begin sanding the headlight using 400 grit sandpaper by hand, while for severely damaged areas, you can use 500 grit sandpaper. After smoothening up the place, you should then seal it up with a substance like acrylic. Finally, apply a good wax polish which is recommended in order to restore the original gloss of the headlight to almost factory conditions.
How do you replace a headlight assembly?
This procedure might at first sound difficult, but in reality, it is quite simple as long as you have all the necessary tools to carry it out. This will enable you to save the cost of labour if you do it yourself. Some of the items you require to do this are a new headlight assembly, a wrench and socket set, a screwdriver, small bags and a permanent marker for labelling screws and bolts so that none will be lost.
Step 1
Loosen the front bumper first so as to access the headlights. Doing this is not difficult at all since it involves only loosening just a few screws and bolts. This is more so considering the fact that you only have to loosen one side since most plastic bumpers have enough flex in them that will enable you to remove the headlight completely without affecting the bumper. After this, locate all the bolts that keep the front bumper in place and loosen them too. The user manual will help you with this. Ensure to also label any bag and the screws and bolts you remove for easy reassembly.
Step 2
This is where you remove the old headlight assembly. To do this, disconnect the bulb cables using the plastic connector catch and the screws holding the headlight assembly in place. Then, slide the old headlight assembly out towards you while being careful so that the cable connectors remain properly disconnected and out of the way.
Step 3
This is the stage where you install the new headlight and in which you should ensure that everything is tightened and reconnected. In the beginning, clean the area where you will install the new headlight by removing any dirt or grime properly. Make sure that the new headlight is tightened well and don’t forget to also reconnect the cable to the light bulb. Before reinstalling the bumper, ensure that the headlight beam is at the correct height when dipped. You can always adjust the height via a couple of screws.
Is cracked headlight lens MOT failure?
No, it is not. A cracked headlight lens may not cause you to be pulled over by the cops or earn you a fine or ticket and it does not also translate into MOT test failure quite unlike what many people suspect. However, if you feel as though the angle of your headlights is off, check it and ensure that it is corrected.
When do I need an MOT test?
You need an MOT test whenever your car is at least three years old from the date of its first or last registration. Thereafter, the car needs to be retested once every year precisely on a date that coincides with its last test. Once you pass an MOT test, you will be served a certificate that will bear when your next test would be conducted. Should your car fail this test, you cannot be allowed to as much as taking it away from the testing grounds unless your current certificate is still valid and dangerous problems were not identified in your car. Otherwise, you must get it repaired first before you will be allowed to drive it away. It would be good to also know that there is no grace period with an MOT certificate. This simply means that as soon as your certificate expires, it becomes illegal to drive your car on any road and doing this is liable to get you prosecuted for driving a road unworthy vehicle. In addition, any vehicle without an MOT certificate cannot be taxed. You cannot also drive any vehicle without an MOT certificate unless you are taking it to an MOT testing centre and the test has been booked. Finally, should you own a vehicle that you do not plan to drive, keep it off the road and declare it SORN.
Conclusion
Though you can drive with faulty headlights especially between sunrise to sunset, it is still highly advised that you fix them as soon as possible. Fixing them when they develop faults is easy for that variety of headlights that can be repaired by following the step by step procedures explained in this article. For those of them which can’t be repaired, it is highly imperative that you replace them entirely since the role of headlights in safe driving cannot be underrated.
Disclaimer
Hi, just letting you know that all products recommended here have been used by me, or are properly researched to ensure they are the best you are getting without bias.
I am also an affiliate for certain Amazon products and this means that some links here are affiliate links. If you purchase an item through any of them, I MAY earn a commission at no extra cost on you.